3D SCANNER PROJECT - PART 1
April 24, 2020
by: jovial_cynic
by: jovial_cynic

Last year around this time, I spent a bunch of time building my own 3D Scanner, being inspired by Alex from Super Make Something. It wasn't quite the success I hoped it would be, but I figured I'd share the work I did, and maybe this will inspire you to build and improve on it.
The Build
The first part of this project was to build the scanning table. The SuperMakeSomething video shows a 3D printed table assembly, but I wanted something bigger and sturdier, so I decided to build my own.
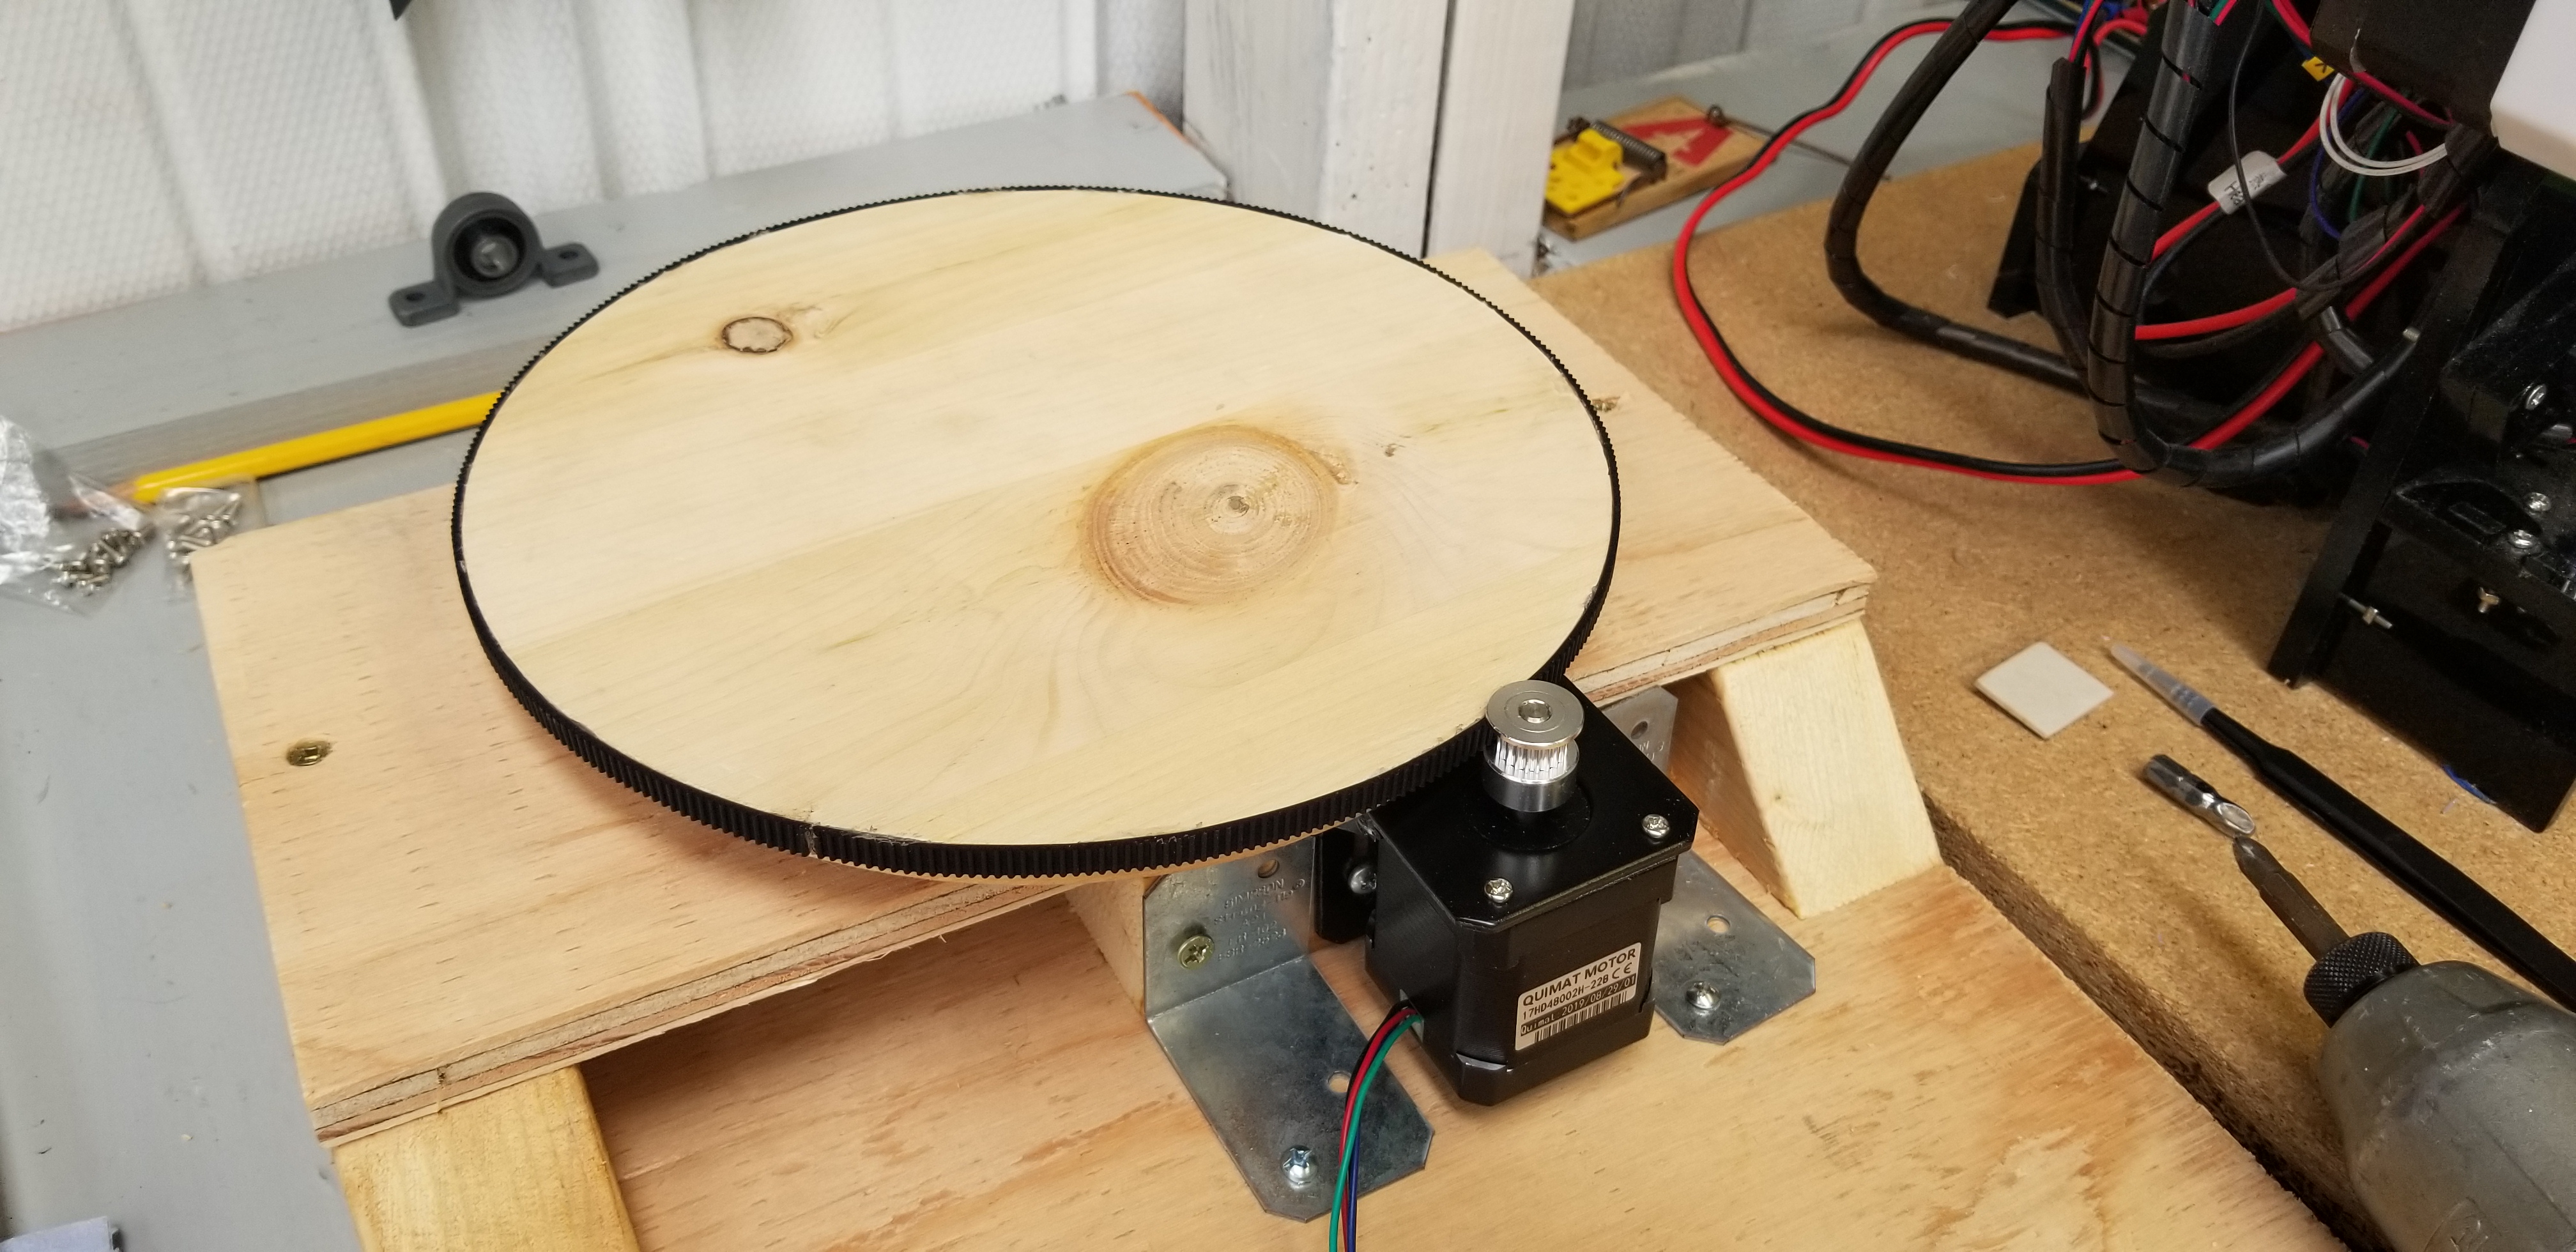
The first thing was to get a platform big enough and to wrap it in a track band so my stepper motors could spin it.

I thought about mounting the platform directly to the stepper motor, but the belt-driven option allows some additional gearing in case I wanted to increase the scan resolution.
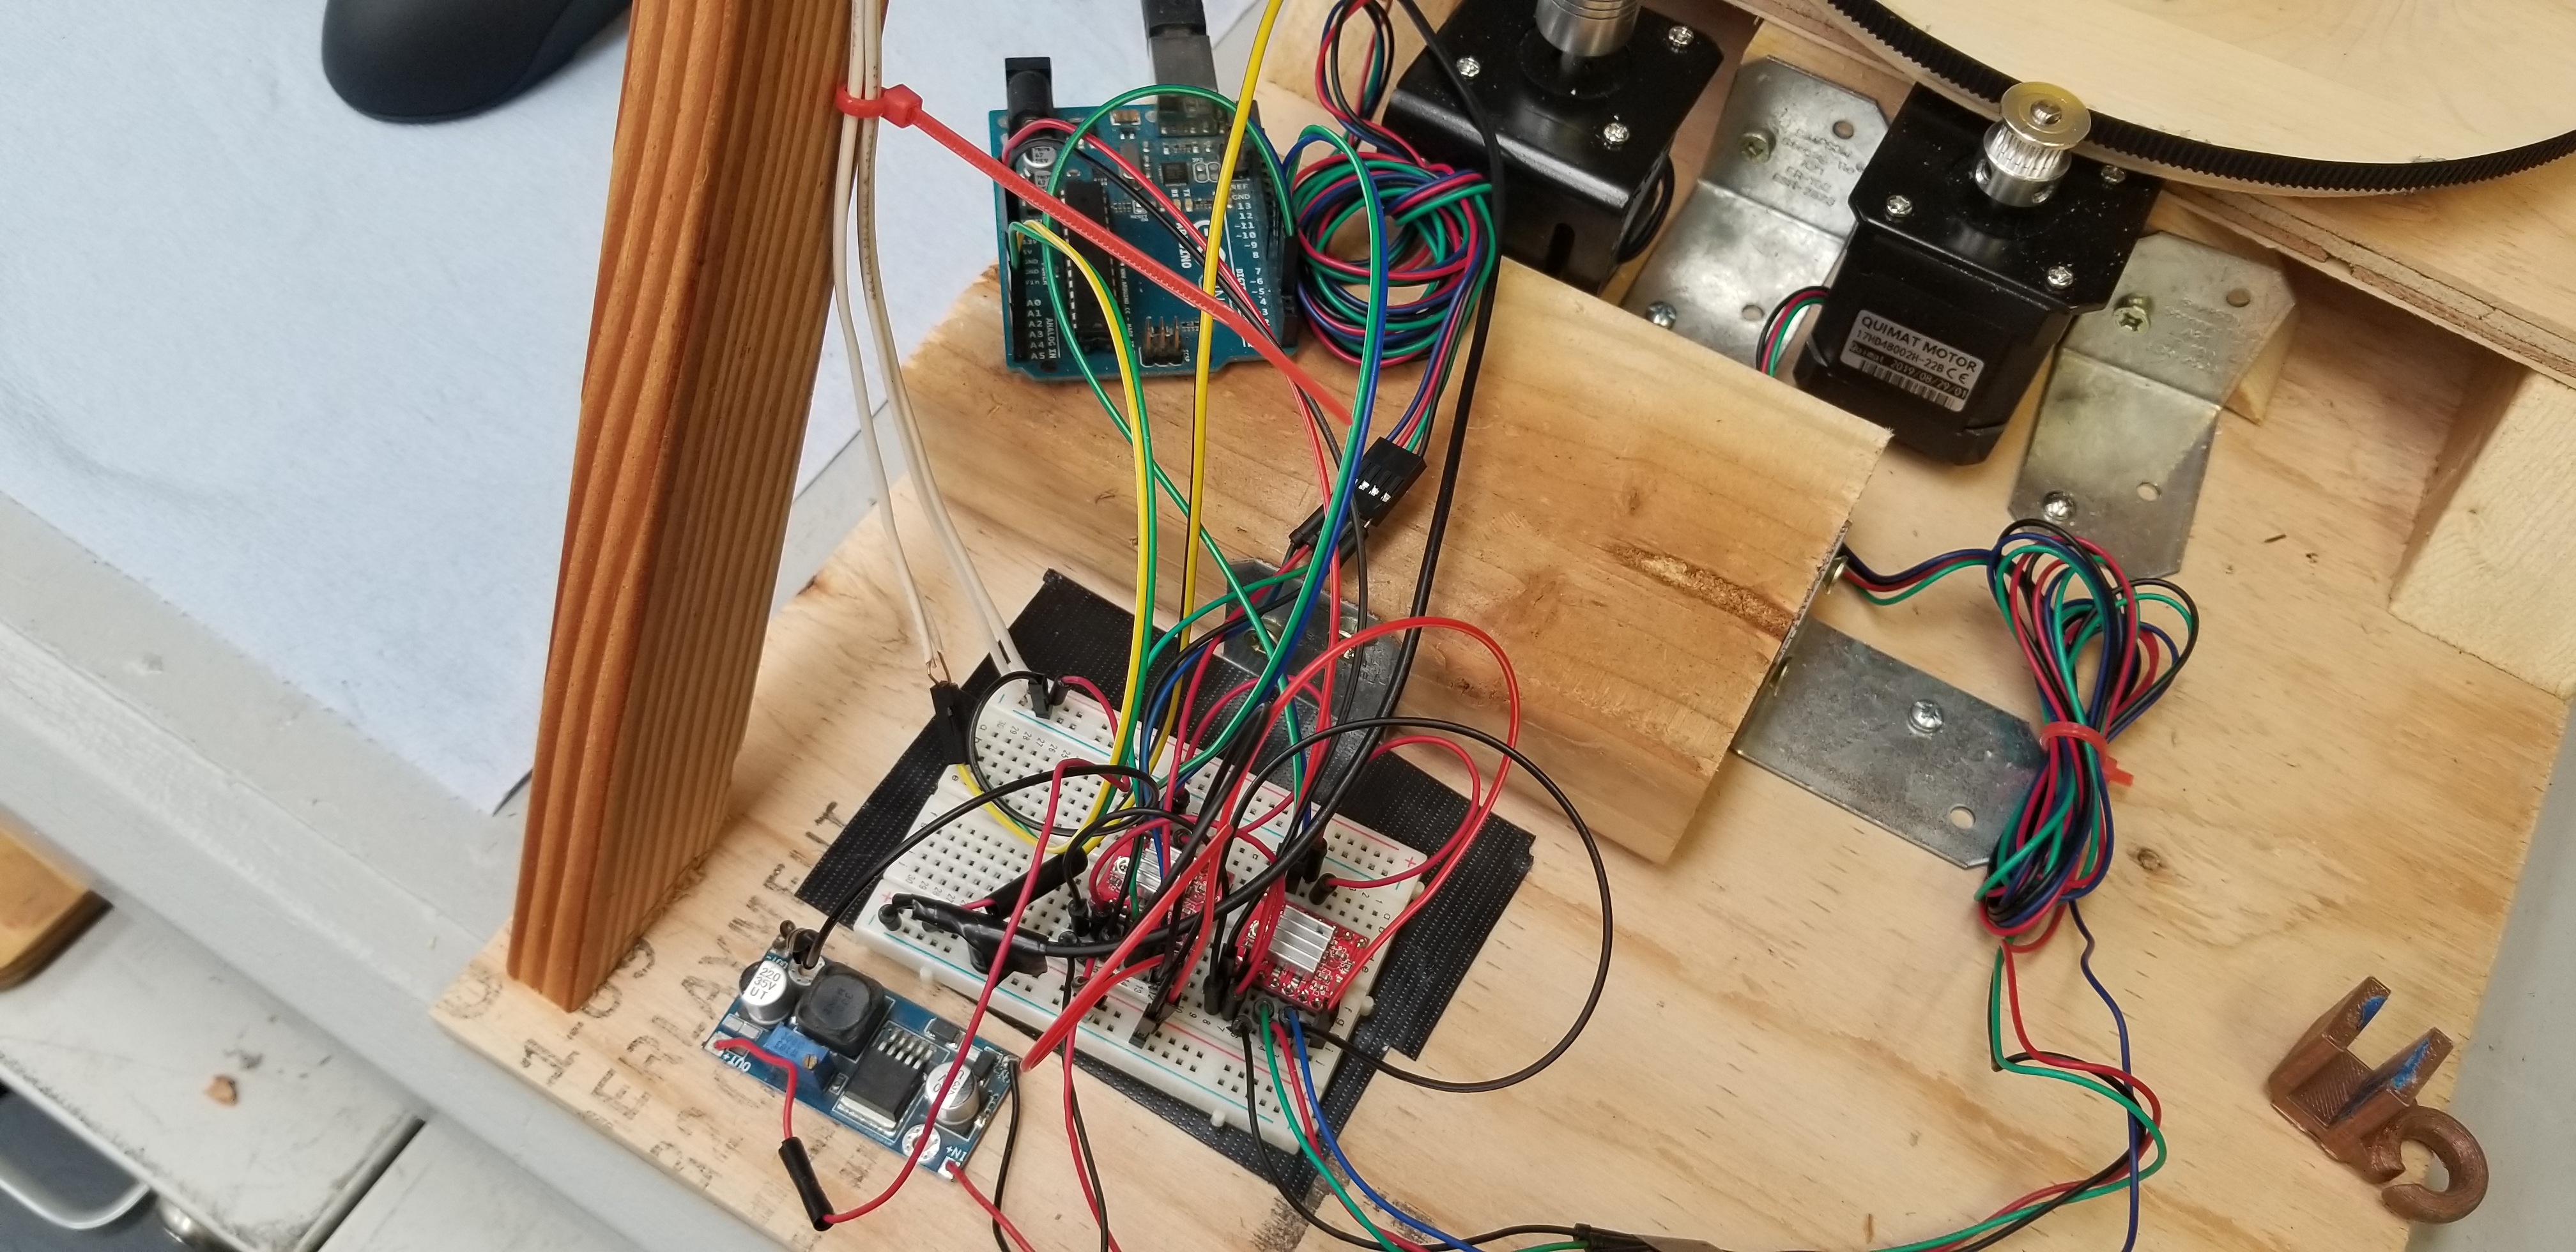
Once the platform was done, the next thing was to get the motor assemblies put together, the VL6180 Time of Flight chip wired in, and the stepper motor controllers connected.

The VL6180 is a high-resolution proximity sensor. At 1mm resolution, it seemed like a really interesting way to build a pretty accurate scanner. I could set the scanner to take a reading of an object on the platform as it spun, and after each full pass, move the scanner up and scan again.
The Code
The coding for this project was really two parts: the Arduino (to control the stepper motors, and to trigger the VL6180), and the C++ code I used to convert the captured distance data into a 3D model.
The Arduino portion was fairly simple. With the table moving 360 degrees, the first part of the code was some simple stepper-motor control. Depending on how I wanted the resolution, I could either set the code to measure the distance every degree (360 scans per pass), or I could go every 5 degrees (72 scans per pass), or I could go much rougher and go every 36 degrees (10 scans per pass).
Once the platform makes a full pass, the next part of the code instructs the stepper motor to move the VL6180 up. Similarly to the platform resolution, the greater the height increase, the lower the vertical resolution.
In order to save the scan data, the code was set up to send the reading out to the serial monitor where it could be copied and pasted into a text file. Easy peasy.
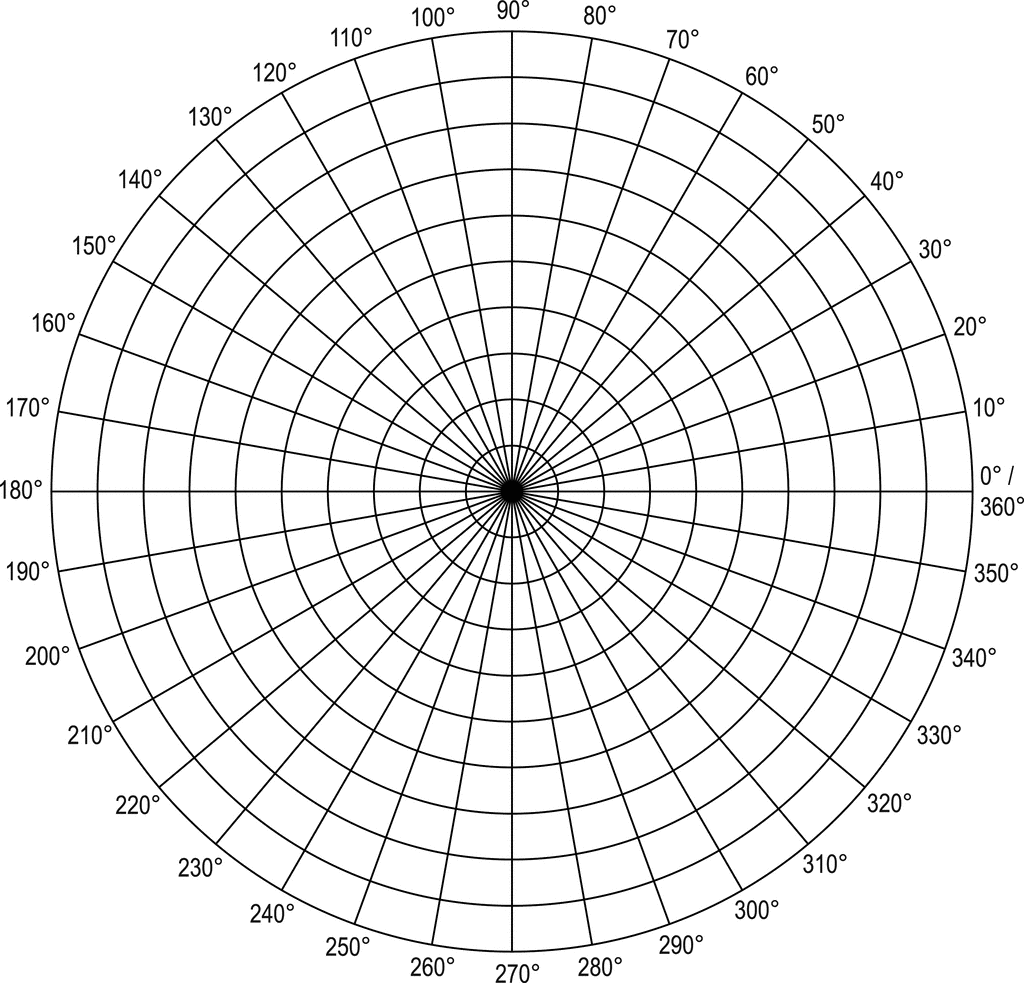
The next part required a bit of math. The scans provide the data in a polar grid. It means that each scan is the distance between the scanner and the edge of the object, at a particular degree. If we know the distance from the scanner to the center of the scan table, we can subtract the scanner-to-edge distance from the scanner-to-center distance.
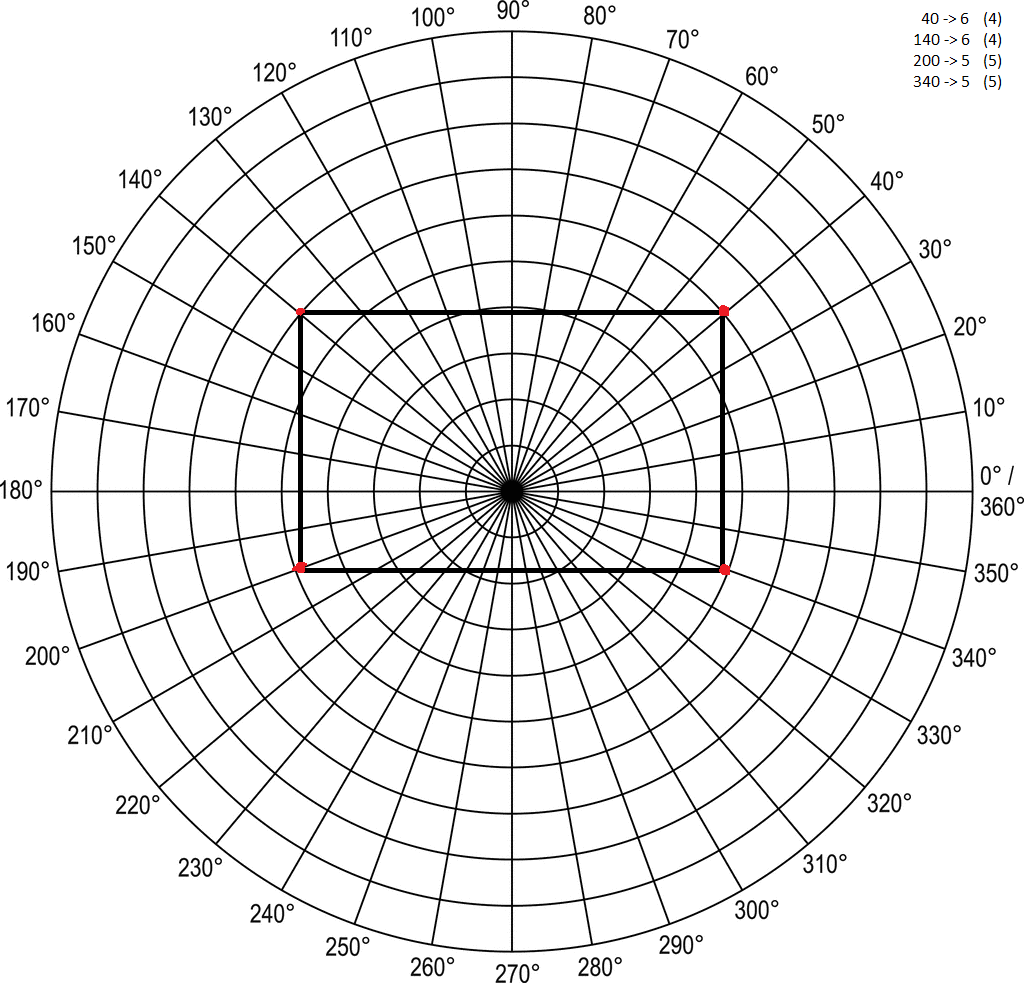
Let's take this rectangle, for example. Because it's not a complex shape, I'm going to act like we're just scanning the four points. In order to visualize this properly, you have to imagine that the VL6180 is stationary, at the right-side of the image (at the 0/360-degree mark). Then you have to visualize the grid rotating clock-wise, so that eventually, the 40-degree line meets up with the VL6180. If the chip takes a data reading only at the 4 points marked in red, you end up with the following:
-At 40 degrees, the scanner reads a distance of 4, which means that it is 6 units from the center
- At 140 degrees; 6 units from the center
- At 200 degrees, 5 units from the center
- At 340 degrees, 5 units from the center
The next step is to convert these polar-grid data points into X,Y coordinates. Here's the formula for each:
X = SIN(DEGREES * 3.1415/180) * DISTANCE FROM CENTER
Y = COS(DEGREES * 3.1415/180) * DISTANCE FROM CENTER
Obviously, I'm just using a rough approximation for PI, but it's good enough for this. When you run each of the 4 polar-grid data points through the formulas, you get the following:
1: 3.86, 4.60
2: 3.86, -4.60
3: -1.71, -4.70
4: -1.71, 4.70

Perfect! Here's the link for Part 2 and Part 3 of this project.

